uniontown country retreat
Project:
To assist my clients in updating their kitchen, dining room, family room, and laundry/mudroom and to rearrange items throughout their home to give all rooms a finished appeal.
Inspiration:
A cover page of a St. Louis Homes magazine with a French country/Tuscan ambiance. The photo includes, cream colored main cabinets with a dark glaze, oil-rubbed bronze hardware, including a more decorative back-plate for the upper doors, a gray/blue painted island with the same dark glaze, marble countertops, a hardwood floor with a gray wash and a couple industrial stools. In addition to a picture of a breakfast nook with a wraparound booth that the client had found.
The Client:
A hardworking wife/mother/grandmother/office manager and husband/father/grandfather/delivery driver, by day, so when the weekends come they can enjoy the peaceful oasis they have created.
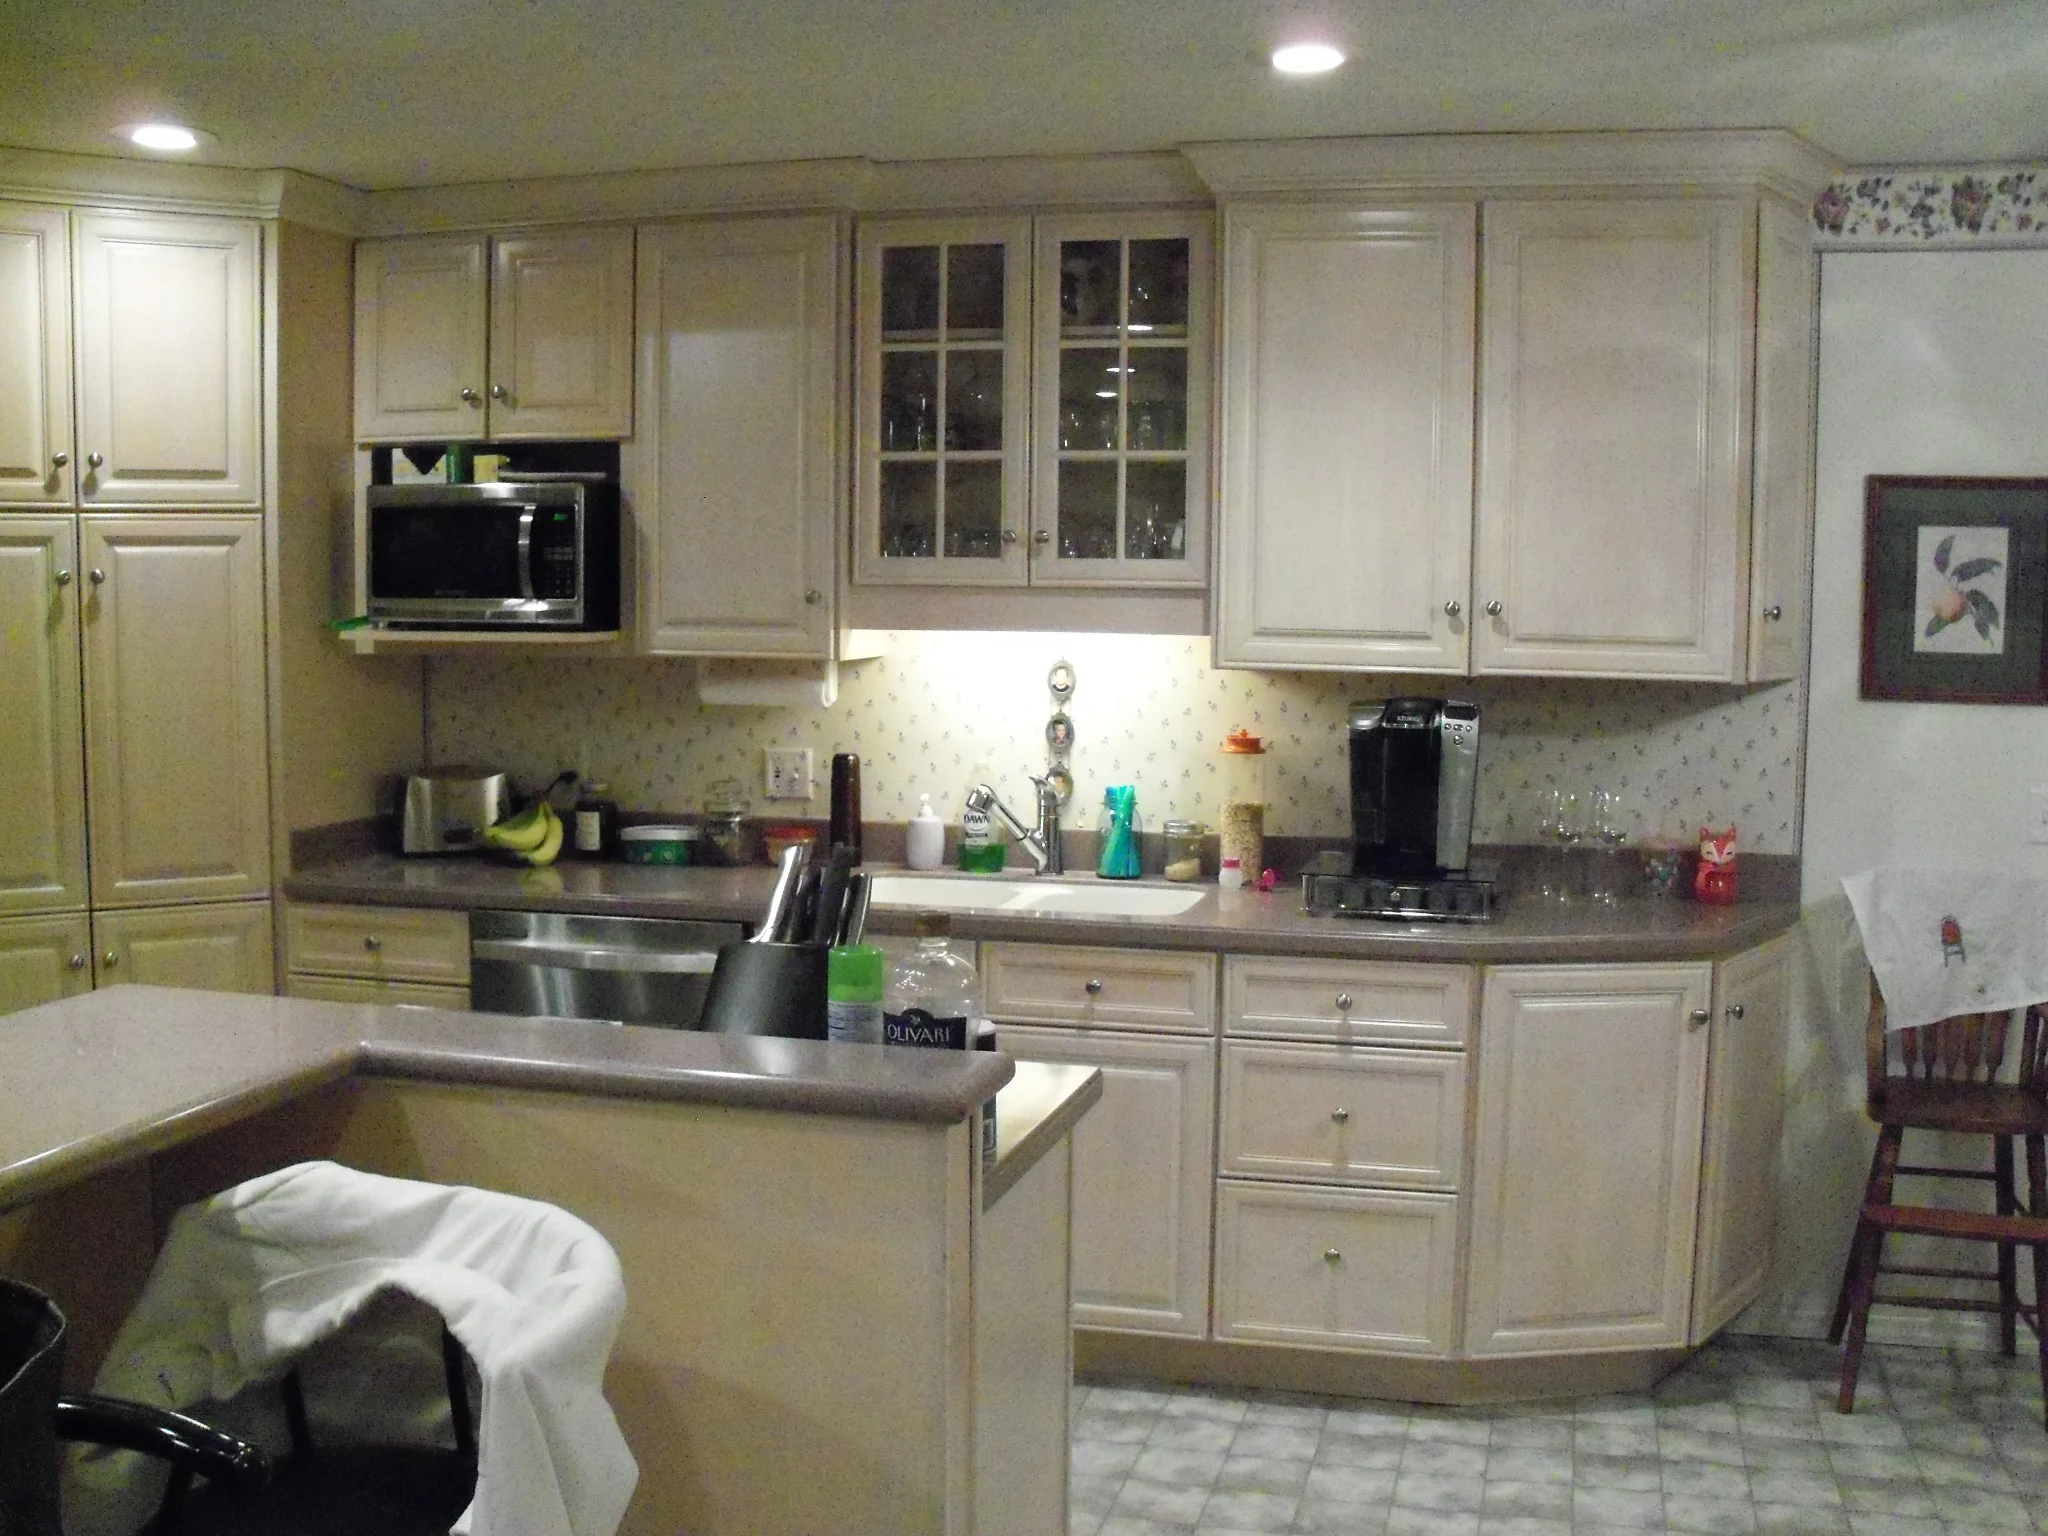
What We Love:
• We nailed the kitchen. We kept the existing base and upper cabinets against the perimeter walls to keep the cost down, removed the free standing antique hutches and the non-functioning island; added a custom pantry, a built-in booth (for additional seating) and a butcher block tabletop; laid out a new functional island and redesigned the lighting layout; these were some of the key components that transformed this space.
• The painted vault ceiling in the family room was originally very dark. We played off of the French country theme, by brightening up the area and creating more of a ship lap look, so we had the painters caulk all of the seams, prime and paint the entire ceiling of the family room. Boy do we love it!
• Looking back at the before pictures, I remember talking the clients through, why it made sense to, remove the wall between the foyer and the dining room while turning the smaller walk-way into the family room into an additional coat closet. It took them a minute to wrap their heads around the fact that the wall, the entire length of the dining room, would just go away and that they wouldn’t need a little stub wall separating the two areas. Looking back, they’re glad I took the time to talk things through with them.
What We Did:
Met with the clients to talk through everything they wanted to accomplish with their space. I initially took pictures and dimensions on my first visit. I later drew floorplans, lighting layouts and cabinetry layouts to scale so that I could have a visual tool to walk through the space with the two of them; showing them what we could reuse and what would change. Cabinetry hardware and paint colors, appliances, wall, trim and ceiling paint colors, hardwood flooring, light fixtures, countertops, tile backsplash, tile for the mudroom, Etc., Etc. and subs were selected and the budget was put together. I walked them through the process after the plan was developed. The material, fixtures and appliances were ordered and after everything was delivered, demo began. Additional visits were made during the remodel to answer questions that arose and to make sure things were still on track. While there, I would tackle rearranging furniture and placing of existing or newly selected and purchased accessories. Details like painting the vaulted ceiling were determined during the project as the clients felt more comfortable with the changes and the additional possibilities of what we could do in addition to what we originally discussed. After the dust settled, I returned to assist the clients with final details and new furniture recommendations and placement. I stayed in contact with the fabricators, the suppliers of the materials and the installers to ensure there was no confusion.